Staining Wood Simplified: Achieve Flawless Finish Every Time
Imagine transforming a plain piece of wood into a stunning piece of furniture or a breathtaking focal point in your home. The secret to achieving this lies in the art of staining wood. By understanding the staining process, selecting the perfect colour, and applying the right techniques, you can achieve a flawless finish that not only enhances the natural beauty of the wood but also provides long-lasting protection. Let this comprehensive guide take you on a journey through the world of wood staining, sharing valuable insights and practical tips to help you master the craft and create stunning results every time.
Key Takeaways
- Gain an understanding of wood stain and its purpose to achieve a beautiful finish.
- Gather the right tools, such as sandpaper and conditioner, for professional results.
- Consider factors like the type of wood when selecting the ideal stain colour. Use sealants & topcoats for protection & enhancement.
Understanding Wood Stain and Its Purposes
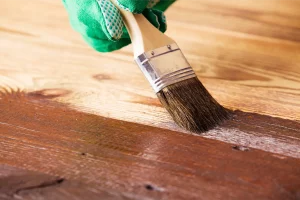
Wood stain is more than just a colouring agent; it serves as a protective layer that enhances the natural grain of a wooden surface while simultaneously providing a desired aesthetic. Whether you are working on a piece of furniture or a wooden floor, the right stain can make all the difference in achieving a beautiful, long-lasting finish. So, what is the secret to staining wood perfectly every time?
The key lies in understanding the purpose of wood stain and how it interacts with the wood’s surface. When applied correctly, wood stain can evenly alter the colour of the wood while still allowing its natural grain to shine through. However, using too much stain, not applying it properly or incorrect surface preparation can lead to an uneven, blotchy finish that detracts from the overall appearance of your project.
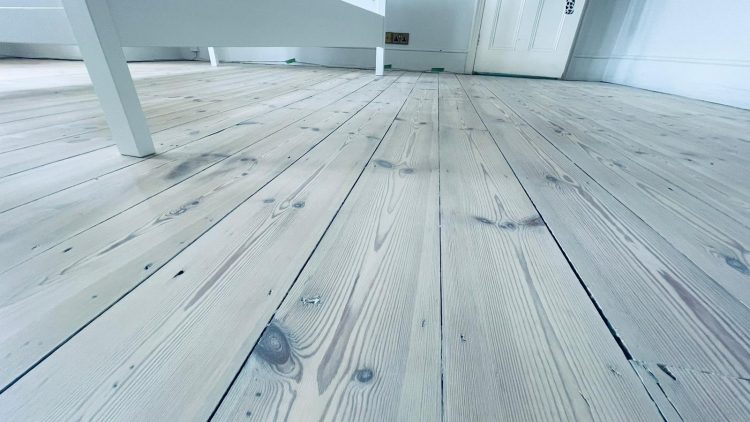
To maximize the beauty and longevity of your stained wood, it is generally suggested to apply two coats of a clear, protective finish over the stain on wood floors. This not only adds an extra layer of protection to your wood floor but also enhances the depth and richness of the stain’s colour.
As you begin your wood staining project, understanding the different types of stains, necessary tools and techniques, and factors impacting the final result is vital. This knowledge equips you to create beautiful and durable stained wood pieces.
Essential Tools for Staining Wood
Before starting the staining process, it’s important to gather the necessary tools and materials for a successful wood staining project. These include:
- Sandpaper
- Clean cloths
- Applicators
- Painter’s tape
- Drop cloths
- Wood stain
- Wood finish
- Safety goggles and gloves
Having the right tools at your disposal will not only make the process easier but also ensure that you achieve a professional-quality finish.
One of the most important tools for staining wood is a high-quality wood stain brush. Using a quality brush offers several advantages, such as:
- Improved coverage
- More even finish
- Compatibility with different types of stains
- Long-term durability
Sanding tools are also important in the wood staining process as they prepare the bare wood surface for staining. By eliminating imperfections, smoothing out rough areas, and opening up the pores of the wood, sanding allows the stain to penetrate more evenly and deeply, leading to a more consistent and attractive finish. Use the appropriate grit sandpaper to prepare the wood for staining properly.
Another essential component of the staining process is the use of simple water before water-based and oil-based stains. Water popping the wooden surface will open up the grains and allow uniform penetrations. This step is not needed for solvent-based stains. Without it, the stain may be absorbed unevenly, resulting in a blotchy or streaky finish. By using simple water, you can achieve a flawless and consistent finish when staining floors or
other wood surfaces.
Selecting Your Ideal Stain Color
Selecting the ideal stain colour for your wood project is an interesting yet difficult task. The right colour can enhance the natural beauty of the wood and transform it into a stunning piece of furniture or a breathtaking focal point in your home. To help you make an informed decision, consider factors such as the type of wood you are working with and the desired appearance you wish to achieve.
Popular wood stain colours range from rich reds and browns, such as Walnut and Chestnut, to lighter hues like Cherry and Golden Oak, and even darker tones like True Black and Ebony. When selecting a stain colour, consider the overall style and theme of your space. For instance, if you’re aiming for a country farmhouse theme, stains like Early American or Colonial Maple might be the perfect choice. On the other hand, if you prefer a modern, contemporary style, options like Ebony, True Black, Dark Grey, or Graphite could be more suitable as a dark stain.
Keep in mind that different wood species may react uniquely to stains. For instance, red oak tends to absorb stains more easily than white oak, resulting in a more distinct reddish hue when stained. To ensure the best results, it’s always a good idea to test your chosen stain colour on a scrap piece of the same type of wood before applying it to your project. This will give you a better idea of how the stain will look on your wood and help you avoid any surprises or disappointments.
Ultimately, the perfect stain colour for your wood project will depend on your personal preferences and the specific characteristics of the wood you are working with. By considering factors like wood type and desired appearance, along with testing your chosen stain on a scrap piece, you can confidently select a stain colour that will beautifully transform your wood piece into a masterpiece.
Prepping Your Wood for Staining

Proper wood preparation is necessary before starting the staining process. This includes sanding, cleaning, and removing any old finishes from the wood surface. Start the process by sanding the wood. This will help to create a smooth and consistent finish. Sanding not only removes any imperfections but also opens up the pores of the wood, allowing the stain to penetrate more evenly and deeply. Be sure to clean the wood after sanding to remove any dirt or debris that may interfere with the staining process.
If you’re working with a soft or porous wood like pine, it’s essential to use a water-popping before staining. This will ensure that the stain is absorbed evenly, resulting in a flawless and consistent finish.
By taking the time to properly prepare your wood for staining, you can greatly improve the outcome of your project and achieve a professional-quality finish.
The Staining Process: A Detailed Walkthrough
Having understood wood stain, the required tools, and wood preparation for staining, you’re now ready to proceed to a detailed walkthrough of the staining process. In the following subsections, we will guide you through the application of the first coat, managing excess stains, and adding depth with multiple coats to ensure a flawless finish every time.
Applying the First Coat
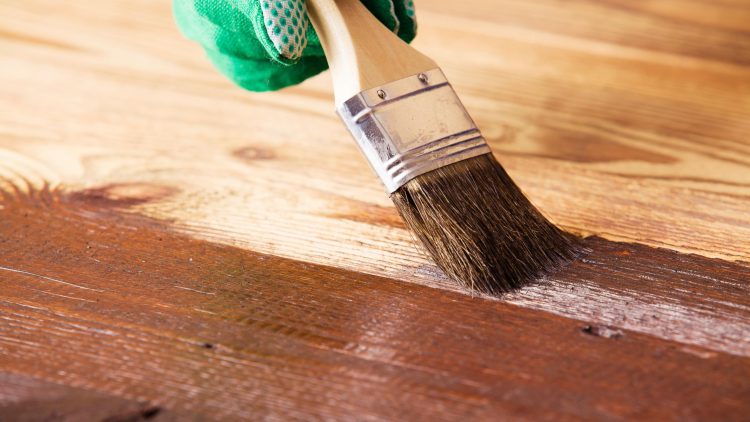
The first coat of stain is crucial, as it sets the foundation for the appearance and protection of your wood piece. To ensure even coverage, start by applying the stain in the direction of the wood grain using a brush or sponge. Be sure to use thin coats and avoid overloading the brush or sponge, as this can lead to an uneven finish and longer drying times.
After applying the stain, allow it to penetrate the wood for the recommended amount of time, usually around 10 minutes. This will give the wood enough time to absorb the stain and achieve the desired colour.
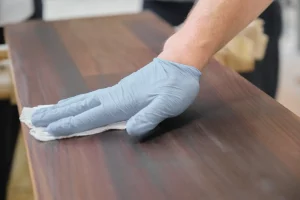
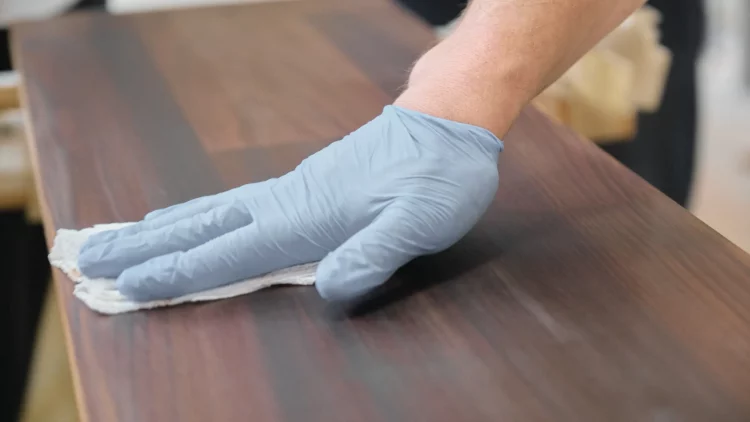
Next, use a clean rag to gently remove any excess stain from the wood surface, following the direction of the grain. This will help to prevent any blotchiness or unevenness in the final finish.
By carefully applying the first coat of stain and ensuring it stains evenly, you can create a strong foundation for a beautiful and long-lasting finish.
Managing Excess Stain
Managing excess stains is an important step in the staining process, as it can greatly impact the appearance and consistency of the final finish. Excessive stain that is not absorbed by the wood may require a prolonged period of drying. To prevent this issue, it is essential to carefully remove any excess stain with a lint-free cloth, such as cotton or cheesecloth.
When removing excess stain, be sure to follow the grain of the wood and avoid applying too much pressure, as this can cause uneven absorption and a blotchy finish. If you find that there is still too much stain on the wood after wiping it with a cloth, consider using a clean rag to gently dab the surface and remove any remaining stain.
By properly managing and removing excess stains, you can achieve a consistent and attractive finish that highlights the natural beauty of the wood.
Adding Depth with Multiple Coats
Applying multiple coats of stain is a great way to add depth and richness to the wood, as well as enhance the protective qualities of the stain. Generally, two coats of stain are recommended for most wood types, although dense hardwoods may require only one coat. To achieve a darker colour, it’s essential to apply additional coats of stain, allowing each coat to dry completely before applying the next.
In some cases, it may be necessary to abrade the surface with a maroon pad before applying the second coat, depending on the specific stain being used. Always follow the manufacturer’s instructions for the stain you are using to ensure the best results. After applying the desired number of coats, allow the stain to dry completely before applying a clear finish or sealer to protect and enhance the stained wood.
By applying multiple coats of stain and properly allowing each coat to dry, you can achieve a deep, rich colour that adds depth and character to your wood project.
Oil-Based vs. Water-Based Stains
There are two primary types of stains for wood staining: oil-based and water-based. Each type has its own set of advantages and disadvantages, and understanding the differences between them can help you make an informed decision about which stain is best suited for your specific project.
Oil-based stains are often praised for their ease of touch-up and durability, but they also have a longer drying time and a strong odour. On the other hand, water-based stains offer a fast drying time and minimal odour, but they can be more difficult to touch up and may have reduced durability. When evaluating the suitability of oil-based and water-based stains for your project, consider factors such as the type of wood being refinished and the desired colour.
The decision between oil-based and water-based stains mainly depends on your preferences and the requirements of your wood staining project. By weighing the pros and cons of each type, you can make an informed decision that best serves your project’s requirements and achieves the desired results.
Special Considerations for Different Wood Types
Different types of wood can pose unique challenges and considerations during staining. The following sections will provide specific techniques and strategies for staining pine, red oak, and white oak, equipping you with the knowledge and confidence to handle any wood staining project effortlessly.
Staining Pine: Challenges and Techniques
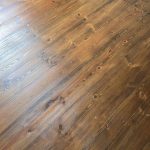
Staining pine wood can be particularly challenging due to its unique characteristics, such as its softness, distinct grain pattern, light colour, and porous nature. These factors can influence the staining process, leading to issues like uneven absorption, blotching, and grain raising. To address these challenges and achieve a beautiful finish on pine wood, it is essential to properly prepare the wood before staining.
Begin by sanding the wood using fine grit sandpaper until it is smooth and free of imperfections. Next, wipe the wood clean with a tack cloth or clean cloth to remove any remaining dirt or dust. Water-pop to ensure even absorption of the stain and prevent splotchiness. Finally, apply the stain using a brush or a cloth, following the manufacturer’s instructions, and allow the stain to penetrate the wood for the recommended amount of time before wiping off any excess with a clean cloth.
By following these steps and using the appropriate techniques, you can achieve a stunning finish on pine wood that showcases its natural beauty and charm.
Transforming Red Oak and White Oak
Red oak and white oak are popular wood choices for staining projects, but they each have their unique characteristics that can affect the staining process. Here are some key differences to consider when staining these wood types:
- Red oak tends to absorb stains more easily and evenly than white oak.
- White oak has a different appearance when stained, often resulting in a more golden or amber hue compared to red oak.
- White oak has a tighter grain pattern, which can affect how the stain is absorbed and distributed.
- Red oak has a more pronounced grain pattern, which can create a more textured and rustic look when stained.
To achieve the best results when staining red oak and white oak, it is important to consider the specific characteristics of each species and adjust your staining techniques accordingly.
For red oak, stains like Duraseal Dark Walnut, Duraseal Silvered, and Early American by Varathane are recommended. For white oak, consider lighter stains such as Duraseal Country White or a mix of 60% Fruitwood and 40% Country White. In addition to choosing the right stain colour, be sure to sand the wood to the proper grit, apply a pre-stain conditioner if needed, and follow the manufacturer’s instructions for applying the stain and finishing the wood.
By taking the time to understand the unique characteristics of red oak and white oak and tailoring your staining techniques accordingly, you can create stunning transformations that showcase the natural beauty of these versatile wood species.
Finishing Touches: Sealants and Topcoats
Applying sealants and topcoats to your stained wood is an essential step in the process, as it helps protect and enhance the appearance of the wood. There are several types of sealants available. Modern finishes and the most common we use are:
- Water-based polyurethane lacquers
- Saturating 2 component oils
When choosing a sealant, consider factors such as the type of wood and the desired appearance of the finished piece.
Topcoats serve to protect the wood from scratches, stains, water damage, and degradation caused by dirt, wind, and sunlight, preserving the integrity of the wood and the beauty of the stain. To choose the best sealant for your stained wood project, consider factors such as the type of wood being used and the desired colour, as well as your personal preferences and the specific needs of your project.
By applying the appropriate sealants and topcoats to your stained wood, you can ensure the long-lasting beauty and protection of your project, allowing it to stand the test of time and maintain its stunning appearance for years to come.
Staining Vertical Surfaces and Complex Pieces
Staining vertical surfaces and complex items like cabinets and intricate furniture can be arduous but rewarding. The key to success lies in proper preparation, careful application of the stain, and attention to detail throughout the process.
Begin by cleaning and preparing the wood surface, ensuring it is free of any dirt, dust, or debris. Sand the surface to eliminate any existing finish, scratches, or flaws, and apply a pre-stain conditioner if needed.
When applying the stain, follow these steps:
- Use a brush or rag and work in small sections at a time. This will help to ensure a more even and controlled application, allowing you to achieve a professional-quality finish on even the most intricate and detailed pieces.
- Be sure to allow the stain to penetrate the wood for the recommended amount of time.
- Wipe off any excess stains with a clean cloth.
Finally, apply a protective coating or finish to the stained wood to help preserve the integrity and appearance of the piece. This will not only enhance the beauty of the stain but also protect the wood from damage and wear, ensuring your project remains a stunning focal point in your home for years to come.
Tips for Maintaining Stained Wood
Appropriate care and maintenance are key to ensuring the longevity and beauty of stained wood. A well-maintained piece of stained wood furniture or flooring can last for generations, becoming a cherished heirloom and a testament to your skill and dedication. To keep your stained wood looking its best, follow these simple tips:
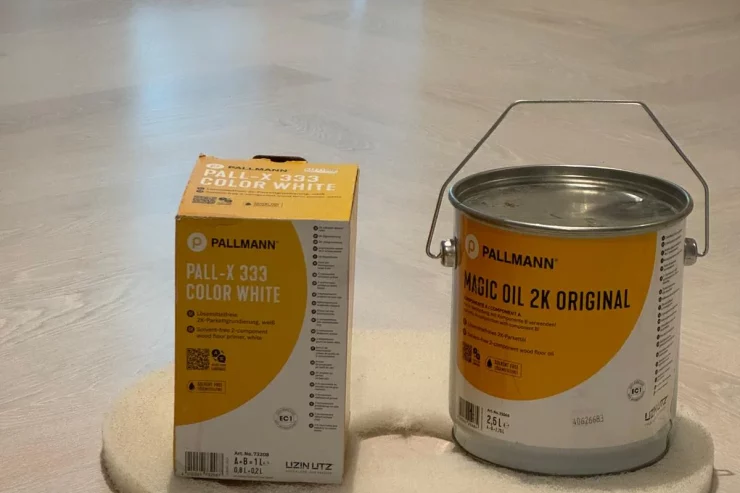
Clean the furniture with safe products, such as microfiber, modern soaps, and tea, at least three or four times a year. Avoid using multipurpose cleaners and opt for gentle products like Pallmann Neutral Cleaner to prevent damage to the wood’s surface. In the event of scratches or other damage, try mixing 3/4 cup vegetable oil with 1/4 cup white vinegar and wiping the mixture onto the scratch with a rag or paper towel, or steep one or two teabags in boiling water for at least 15 minutes and apply the tea to the scratch.
In addition to regular cleaning, it’s important to consider the environment in which the stained wood is kept. Stain durability can be affected by temperature and humidity, with high humidity extending drying times and extreme temperatures impacting the curing process. Aim to maintain moderate temperatures between 18 and 23 degrees Celcius when applying the stain and store your stained wood pieces in a stable environment to ensure their long-lasting beauty and protection.
Summary
Staining wood is an art form that can transform a plain piece of wood into a stunning work of beauty and craftsmanship. By understanding the staining process, selecting the perfect colour, and applying the right techniques, you can achieve a flawless finish every time. From choosing the appropriate tools and materials to mastering the application of multiple coats, this comprehensive guide has equipped you with the knowledge and confidence required to create stunning stained wood projects that are both beautiful and durable.
As you embark on your wood staining journey, remember that the key to success lies in proper preparation, attention to detail, and a willingness to learn and adapt. By following the tips and techniques outlined in this guide, you can create a stunning masterpiece that showcases the natural beauty of the wood and stands the test of time.
Frequently Asked Questions
What is the proper way to stain wood?
For the best results, sand the wood in the direction of the grain and apply the wood stain with a lint-free cloth using small movements. Wait for the stain to soak into the wood and then wipe off any excess with a clean cloth. For darker results, consider applying multiple coats.
Is staining the wood a good idea?
Staining wood seals off the pores and protects from UV rays, which makes it a great idea for ensuring durability and maintaining your wood’s colour.
Do I have to sand before staining?
Sanding your wood is necessary for optimal stain penetration and a richer, more vibrant colour. The recommended final sanding grit for Color Oil is in the 100-120 range.
What does staining do to wood?
Staining seals off the pores in wood prevents it from taking water and adds a layer of protection from UV rays, ensuring its colour is preserved.




 As the air becomes more humid in spring, these gaps usually close naturally. To prevent them from occurring during dry periods, maintaining a consistent level of indoor humidity is crucial. Utilizing air humidifiers to sustain a humidity level between 45-60% not only benefits the wood floors but also promotes a healthier living environment. It’s important to select high-quality humidifiers and steer clear of lower-grade ultrasonic or droplet humidifiers, which can leave deposits on your floors and furniture. There are many smart humidifiers nowadays that can regulate the conditions in the room we found your interventions.


