


 info@silverliningfloorcare.co.uk



Learn how to safely clean natural stone floors without etching or staining. From daily care to what to avoid.
Read more
Published on 10 Mar 2026
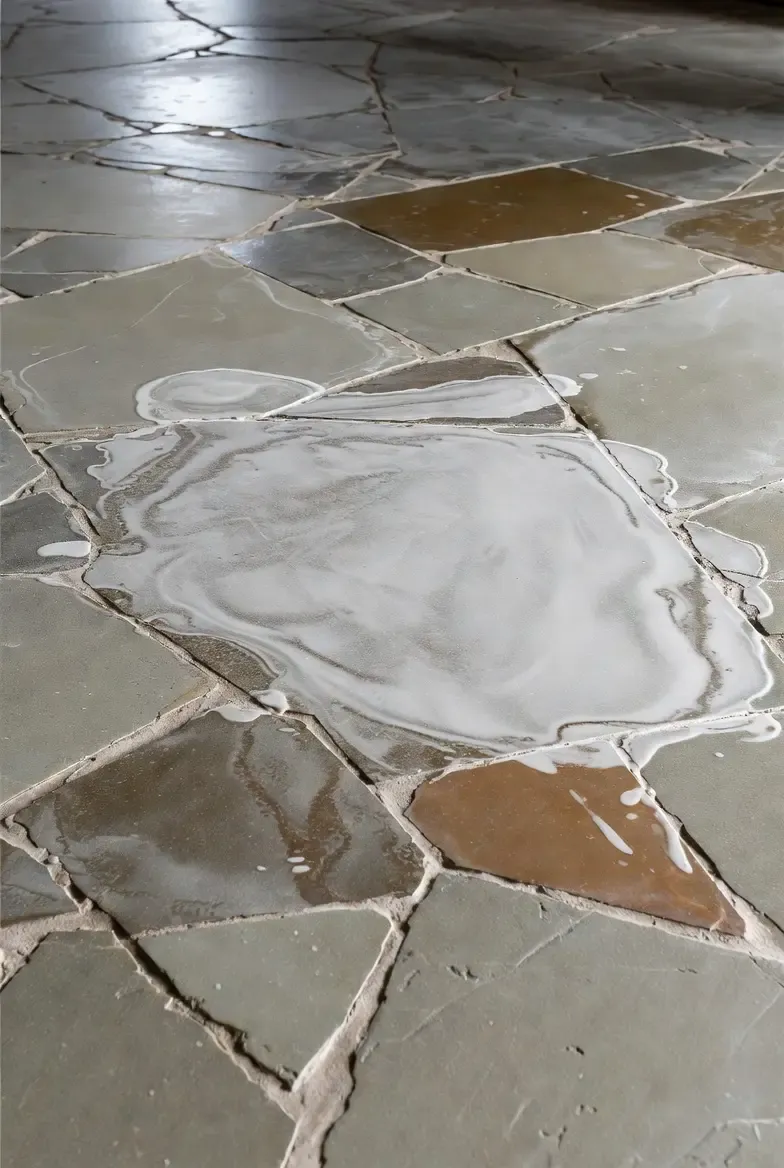
Let the wax harden completely, then lift what you can with a plastic scraper. For the film that is left, lay a white paper towel over the mark and warm it through the towel with a hair dryer — the wax melts and wicks up into the paper rather than down into the stone. Change the towel as it loads and repeat.
If a shadow remains after that, the wax has gone into the pores and no amount of heat will pull it back. That is a poultice job, covered below.
Finish with a pH-neutral stone cleaner and clean water. Never use vinegar, and never use a metal blade.
This decides everything that follows, and it takes ten seconds.
Look at the mark from a low angle, then wet it with a little clean water.
Dense, polished and sealed stone — granite, most polished marble, glazed porcelain — usually keeps wax on the surface. Open, honed or unsealed stone — limestone, travertine, sandstone, terracotta — lets it in, and lets it in faster when it is hot.
Do not touch a fresh spill. Warm wax smears, and smearing multiplies the area you have to treat. Give it time, or put a bag of ice on it.
A plastic scraper, a plastic putty knife or the edge of an old bank card. Work at a shallow angle and let the wax break away rather than forcing it.
Never a kitchen knife, a chisel or anything steel. On polished stone the scratch is permanent and costs far more to correct than the wax ever would.
This is the step most guides get slightly wrong, and the order matters.
Lay a plain white paper towel or an unprinted cloth over the remaining film. Warm it from above with a hair dryer. As the wax softens it is drawn upward into the paper — the towel gives it somewhere to go. Replace the towel as it loads and keep going until it stops taking any up.
Heat applied to bare stone does the opposite. Molten wax is far thinner than solid wax, and on open stone it will find the pores before it finds your cloth.
Use white paper only. Printed or coloured towel can transfer dye into warm, open stone, and a dye stain is harder to shift than the wax was.
A pH-neutral stone cleaner and clean water, then dry. Look at it again in daylight. If the stone is uniform, you are finished.
A shadow left after the heat step is wax below the surface. Nothing you wipe across the top will reach it, and stronger cleaners mostly damage the finish while leaving the stain where it is.
The method for drawing a contaminant back out of porous stone is a poultice. The Natural Stone Institute sets out the specification:
For candle wax specifically, professional stone-care sources use mineral spirits, or 30/40 volume hydrogen peroxide where dye from a coloured candle is also involved.
A word on recipes. You will find plenty of poultice mixes online. We do not use them. We use ready-made professional poultices, or a product formulated for the specific contaminant, because the wrong chemistry sets a stain instead of lifting it — and on marble, the wrong chemistry can etch as well. If you are going to attempt this yourself, buy a poultice made for the job rather than mixing your own.
Glazed porcelain has effectively no open pores, so wax cannot soak in. It sits on top, comes off cold with a plastic scraper, and the heat-and-wick step usually finishes it.
Unglazed porcelain, quarry tile and terracotta behave like porous stone and need the same caution.
Grout is the exception on any floor. It is porous whatever the tile is, and it is usually where the last of the wax hides.
A few years ago we were called to a kitchen with granite worktops and a matching stone floor. A decorative candle had gone over during a dinner party and spread wax across the room.
The homeowner had gone at it with a kitchen knife. The wax came off — and so did the shine. We brought the floor back with a light polish, but the wax had been the easy part of that job. The knife was the expensive part.
That is the pattern with wax almost every time. The spill is rarely the damage. The rescue attempt is.
A single candle spill on sealed stone is a DIY job and this guide covers it. Call someone when the wax has gone into open stone and a poultice has not shifted it, when there is scratching or etching around the mark, or when a wax polish has built up across a whole floor.
For orientation on cost: stone restoration starts from a £450 minimum charge. What moves it is the stone type, the size of the damage, the finish — polished or honed — and access. Spot repairs are usually priced against that minimum; larger areas per m² after an inspection.
One thing worth knowing before you ask for a spot repair: in around 80% of these jobs the rest of the floor needs a clean, polish and seal as well. Correcting one patch on a floor that has not been touched in years tends to leave you looking at a bright square in a dull room.
Send photos and a description of the stone and we will tell you which of those it is. WhatsApp 07850 631877.
Frequently Asked Questions
Let the wax harden, gently scrape it off with a plastic scraper, then soften the remaining wax with a hair dryer. Blot the melted wax with a paper towel and clean the area with a pH-neutral stone cleaner.
Candle wax usually won’t permanently damage stone, but it can leave greasy residue or stains if not removed quickly. Cleaning it properly helps protect the natural stone surface.
After removing the wax, clean the area with warm water and a stone-safe cleaner using a microfiber cloth or soft brush. Rinse with clean water and dry the surface thoroughly.
If the wax has soaked into porous stone or covers a large area, professional cleaning may be needed. Experts can safely remove buildup and restore the stone without damaging the surface.
Contact us for more information.