

 info@silverliningfloorcare.co.uk



Learn how to safely clean natural stone floors without etching or staining. From daily care to what to avoid.
Read more
Published on 13 Nov 2025
Hello, I’m Johnny Czarnota. Since 2004 I have dedicated myself to the silent language of wood floors. As the Founder of Silver Lining Floor Care, I view floor care not as a chore, but as a practice of mindful preservation. Investing in real wood is a beautiful, sustainable commitment to natural longevity, particularly with hardwood floors.
Yet, I often see hardwood floors fail prematurely due to simple, misguided cleaning habits. Safe cleaning is a critical, intentional act of preventative maintenance.
My philosophy is simple: if you understand the system, you can maintain it for generations. The core threats to your wood floor are excessive moisture and the damage caused by acidic or alkaline cleaners. This guide moves past outdated DIY myths, providing trustworthy, professional best practices for the best way to clean your hardwood without damaging the finish.
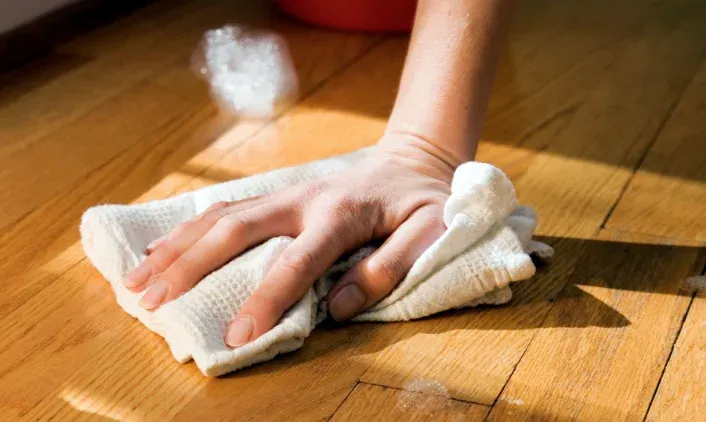
For daily care, always begin by removing abrasive debris: Sweep regularly with a soft-bristle broom or use a vacuum with the beater bar turned off. Immediately wipe up all spills using a dry or slightly damp cloth to prevent moisture damage. For a deep clean, use a microfiber mop that is only damp, never wet, along with a hardwood-safe cleaner. To protect the wooden floor and finish, always wring out excess water, mop with the wood grain, and ensure the floor is dried thoroughly.
For wet cleaning, always use a microfiber mop that is only damp, never wet. Use only a pH-neutral cleaning solution explicitly designed for wood floor cleaner. Never use steam or ammonia. Keep vinegar off it as a routine cleaner too — it is acidic, and week after week it wears the finish down. There is a section below on exactly why, and on the one job vinegar is genuinely good for.
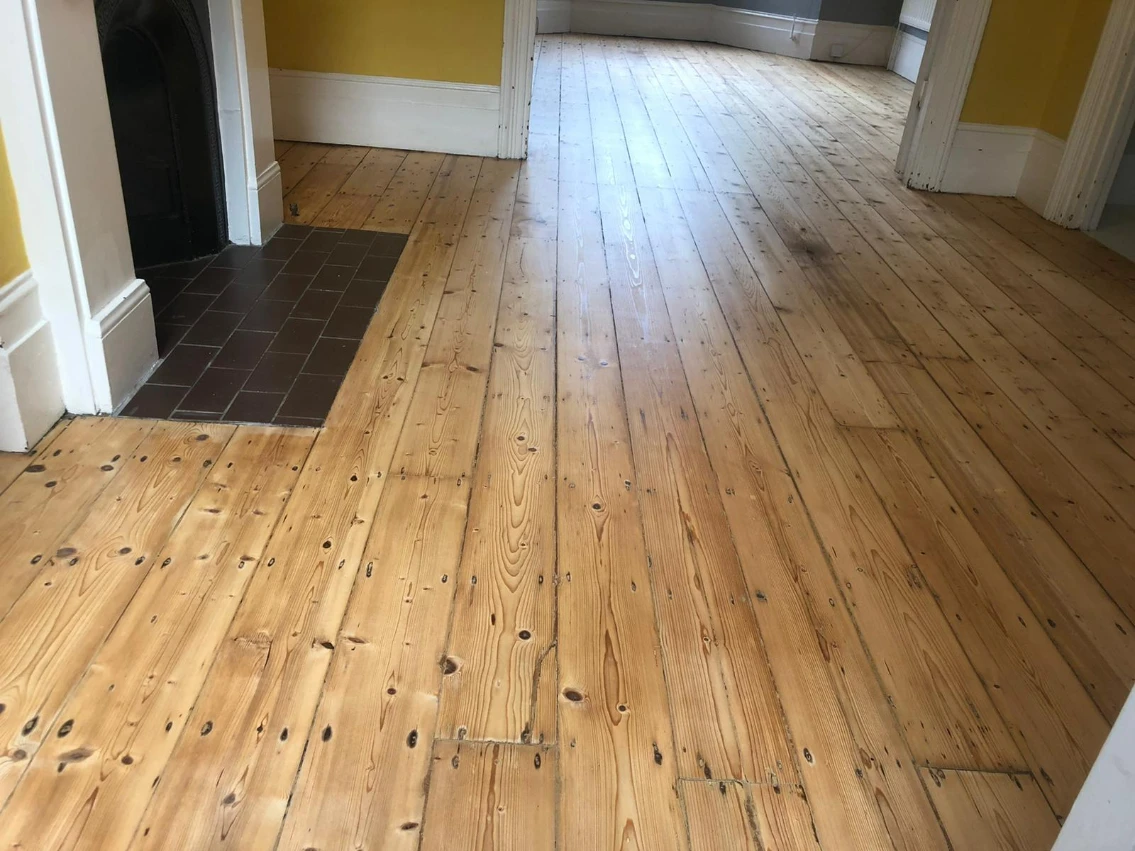
Safe cleaning begins by addressing the primary source of damage: abrasive debris. Ignoring this foundational step means you are essentially dragging tiny pieces of sandpaper across your finish every time you walk or mop.
The single most important action you can take is the daily removal of grit. These fine particles embed themselves in the finish and create micro-scratches with every footstep.
Use a soft-bristled broom or, ideally, a microfiber dust mop. Microfiber excels because its electrostatic charge traps and holds dust, lifting it completely off the surface.
A Critical Warning about Vacuums: If you vacuum your hardwood, it must have a dedicated bare-floor setting. The rotating beater bar designed for carpets acts like a high-speed sander on wood, prematurely wearing down your finish and causing dullness.
Accidents are inevitable, but your reaction must be swift and mindful: blot, don’t wipe or scrub. Wiping spreads the spill; scrubbing risks damaging the finish layer immediately beneath the liquid. Use a soft, absorbent cloth and gently blot until the area is dry.
Handling Pet Urine: Pet urine is a specific emergency, as it’s highly acidic and stains the wood itself. After blotting, immediately use an enzymatic cleaner. This neutralizes the acid and odor without harsh chemicals that would further damage the finish.
Felt furniture pads are the silent guardians of your floor. They are non-negotiable, acting as a buffer against constant friction. Remember to check and replace these pads frequently, especially on heavily used chairs, and always lift—never drag—heavy furniture.
Before applying any moisture to your floor, ensure you complete these vital protective steps:
First, why the finish is there at all. Lacquers and oils exist to keep moisture off the wood. Picture freshly cut timber: inside it is light, almost orange. Come back a few months later and it has gone grey. That is not dirt — it is the wood reacting with moisture in the air. Everything below is about protecting the coating, because the coating is what is protecting the wood.
To clean safely, you must first know your system. The safety of your cleaning product depends entirely on the finish protecting your wood floor. This foundational knowledge prevents costly mistakes.
Below is the expert’s blueprint for the three main types of wood floor finishes. Understanding these differences is the key to preventing costly, irreversible damage.
A note on engineered wood: Most modern engineered wood products are finished with polyurethane (sealed) and follow the same cleaning rules as hardwood.
| Finish Type | Characteristics | Cleaning Requirement | Recoat/Maintenance Frequency |
| Sealed (Polyurethane, Urethane) | Hard, plastic-like film sitting on top of the wood. Most common modern finish. | pH-Neutral, Water-Based Cleaners only. Must avoid acids and alkalis. | Screen & Recoat every 5–7 years (high-traffic). Full re-sanding every 10–15 years. |
| Penetrating Oil (Hard Wax Oil) | Oil or wax sinks into the wood fibers, creating a natural, matte look. Wears down gracefully. | Manufacturer-Specific Oil Soap or Natural Soap Cleaners. | Apply maintenance oil annually or semi-annually. |
| Waxed (Rare/Historic) | Soft, low-sheen finish maintained by buffing. Extremely vulnerable to any liquid. | Specialty Wax Cleaner or Waterless Products ONLY. Water can damage the wax instantly. | Requires periodic buffing and re-waxing (often every 6–12 months). |
Once the prep work is done and you know your finish, we move to the two core methods for effective, safe cleaning.
This is the part that actually matters, and it is the least interesting one. Around 80% of the dirt on a floor is dry soil, and dry soil is abrasive. Every footstep grinds it into the surface and takes a little of the protective layer with it. That holds for wood, stone and carpet alike. Sweeping or vacuuming regularly does more to keep a floor alive than any product you can buy.
Think of it like teeth. You brush twice a day to keep them clean — you do not leave it six months and hope one thorough clean will fix it. By then cleaning is not the answer any more.
A microfiber mop or cloth is the workhorse of safe wood floor cleaning. Its thousands of tiny fibers create an electrostatic charge that traps and holds dust and dirt far better than traditional brooms, making it essential for proactive cleaning. If maintaining a regular cleaning schedule is challenging, remember that Silver Lining Floor Care offers professional Cleaning and Maintenance plans to protect your investment consistently.
This is the most misunderstood rule: The mop should be damp, not wet.
Excessive moisture is the number one killer of wood floors. When water pools, it forces its way into the seams, causing the wood fibers to swell, leading to cupping, warping, and finish failure.
Tool Recommendation: Use a quality spray mop that delivers a controlled mist, or if using a bucket, ensure the microfiber mop head is thoroughly wrung out so it feels barely damp to the touch. The floor should dry almost instantly.
Always use a cleaner specifically formulated for hardwood floors. These are designed to be pH-neutral, allowing them to clean effectively without compromising the chemistry of your protective finish. Consider quality cleaning product brands like Bona for reliable, streak-free results.
One wash with diluted vinegar will not ruin a wood floor. Washing with it regularly is a different matter, and that distinction is the part most articles skip.
It attacks the coating, not the wood. Vinegar sits at pH 2–3. Modern wood finishes — polyurethane lacquers, hardening oils, waxes — are formulated for products at or near neutral pH. Used week after week, vinegar dulls the lacquer, weakens the gloss, accelerates wear on the coating and brings the next renovation forward. On an oiled or waxed floor it strips the protective oils, and the effect usually shows sooner there than on lacquer.
What it does not do is eat the wood itself, and that distinction matters. It destroys the wood’s protection. Once the coating is weakened the wood takes up water more easily, can swell, discolours more readily and is more exposed to mechanical damage. The damage is real — it just arrives one step removed.
Some finishes are particularly sensitive: Bona Traffic HD, Loba Supra, Pall-X 98, Pall-X Zero, Dr. Schutz PU Sealer. These are very durable lacquers, but their manufacturers specify neutral-pH care products, and regular vinegar can void that care recommendation and shorten the life of the coating (Bona safety data sheet).
Why everyone used to recommend it. Decades ago a lot of floors were unfinished, finished with simple oils, or waxed. Vinegar helped shift soap scum and limescale, so it earned its reputation honestly. Today’s lacquers are a completely different material and the people who make them do not recommend that care.
Where vinegar does still have a use: odour, and pet accidents. Its pH is the opposite of alkaline stains, so it neutralises them. The important part is not leaving the floor sitting acidic — go over it with water afterwards.
If your floor has had one vinegar wash, nothing serious is likely to have happened. Go back to a neutral-pH cleaner matched to the actual finish — lacquer, oil or wax — and a well-wrung mop. Excess water is a bigger threat to wood than the cleaner is.
These cleaning agents cause structural damage or finish failure and must be strictly prohibited in your home:
Why steam mops seem like a good idea. There is some truth in the appeal — cleaning action does improve with heat. In the trade we work to a principle called CHAT: Chemicals, Heat, Agitation, Time. All four have to be balanced, and a steam mop raises Heat sharply, which in effect raises the Chemicals side with it. The problem is what steam is. It is a less dense form of water, and that is exactly what lets it pass through the protective barrier instead of sitting on top of it. You get the cleaning power and the coating damage from the same action.
For life’s minor marks, a targeted strategy is needed:
For damage that goes beyond surface marks—deep scratches, gouges, or persistent squeaks—you need professional intervention. Silver Lining Floor Care offers comprehensive Repairs to stabilize your floor’s structure and restore its seamless look.
Safe cleaning extends life, but high-traffic areas will thin the protective layer.
If your finish is worn past recoating, or you need a complete style change, that’s where restoration begins. Silver Lining Floor Care provides full, dust-minimized Sanding, Staining & Finishing, and Varnishing services, guiding you through the system of restoration for ultimate longevity.
For orientation, before anyone has seen your floor:
There are too many variables to quote exactly from a description — the floor plan, what is happening with the furniture, and access all move the figure. Send us as much detail as you can and we will estimate the options and tell you which one we would actually recommend.
Someone rings to say they have looked after the floor properly, they mop it with a steam mop, and at some point the dirt stopped coming off. It is not dirt any more. It is a floor with no lacquer left on it, greyed by moisture. At that point sanding is the only thing that will fix it.
If you are not sure which of those you are looking at, send us photos and we will tell you. WhatsApp 07850 631877.
For those dedicated to sustainable living, cleaner choice matters deeply for indoor air quality.
Look for Certifications: Prioritize cleaning products with certifications like EPA Safer Choice or Green Seal. These products utilize non-toxic, biodegradable, and pH-neutral ingredients, significantly reducing VOCs (Volatile Organic Compounds) in your home.
This proactive maintenance is also a powerful sustainability action. Refinishing and maintaining a wood floor is vastly more sustainable than replacement. One study comparing maintenance found that refinishing a wood floor surface reduces carbon emissions by an average of 89% and saves 97% in energy use compared to complete replacement.
A wooden floor is resilient, demanding only respect and consistent, mindful care. By embracing these simple, system-based practices, you honor the enduring quality of your investment and ensure it remains brilliant for years.
At Silver Lining Floor Care, our mission is to ensure every floor reaches its fullest potential and longevity. Trust the process, trust the science, and treat your floor like the enduring piece of nature it is.
If you encounter deep stains, significant wear, or need professional advice on the next screen and recoat, always consult a wood flooring professional.
Strictly avoid steam cleaners, ammonia-based cleaners, and vinegar-based solutions. They all chemically or physically degrade the protective polyurethane finish.
Yes, but only in extremely controlled amounts. The mop should be thoroughly wrung out until it is barely damp. Excessive water causes floor swelling and finish failure.
If you have a sealed (polyurethane) floor, yes—oily soaps will leave a sticky, hazy residue. If you have a penetrating oil finish, the manufacturer-recommended oil-soap cleaners are necessary to maintain the finish and should not leave a damaging residue.
Contact us for more information.