

 info@silverliningfloorcare.co.uk



Learn how to safely clean natural stone floors without etching or staining. From daily care to what to avoid.
Read more
Published on 11 Jun 2025
Yes, you can sand some hardwood floors yourself, but whether you should depends on the floor, its condition and your practical experience. Solid timber is generally more forgiving than engineered flooring, parquet or soft pine. You will also need proper sanding equipment, dust control and enough time to work carefully. A mistake with a drum sander can remove timber permanently, so valuable, thin or badly damaged floors are usually better assessed professionally.
It is easy to understand the appeal.
Sanding floors yourself may seem like a practical way to save money, uncover original timber and avoid replacing a floor that still has plenty of life left in it. For people who enjoy renovation work, it can also feel like a satisfying project with a visible result.
A properly sanded floor can change the whole feel of a room. Old floorboards may look dull, scratched or heavily marked, but the timber beneath the surface can sometimes be restored and protected again.
The part many first-time DIYers underestimate is the preparation. The job is not simply a matter of hiring a sanding machine and pushing it around the room. Before you start sanding, you need to understand the floor, repair obvious defects, choose an appropriate grit sequence and plan how the edges, corners and final finish will be handled.
Not every wooden floor is a sensible DIY candidate. Before planning to sand, inspect the floor carefully and establish what it is made from.
Solid hardwood flooring is usually the strongest candidate because each board is made from timber from top to bottom. This gives you more usable depth than most engineered products.
Even so, an old floor may have been sanded several times already. The remaining thickness above the tongue and groove needs to be considered before more material is removed.
Engineered wood has a real timber surface over a layered core. Whether it can be sanded depends largely on the thickness and condition of that upper wear layer.
A thick wear layer may allow careful sanding and refinishing. A thin one may only tolerate light sanding, if any. Over-sanding can expose the core beneath, causing damage that cannot be corrected by applying more finish. Before attempting it, read our guide to sanding engineered wood flooring to understand how the wear layer affects what is possible.
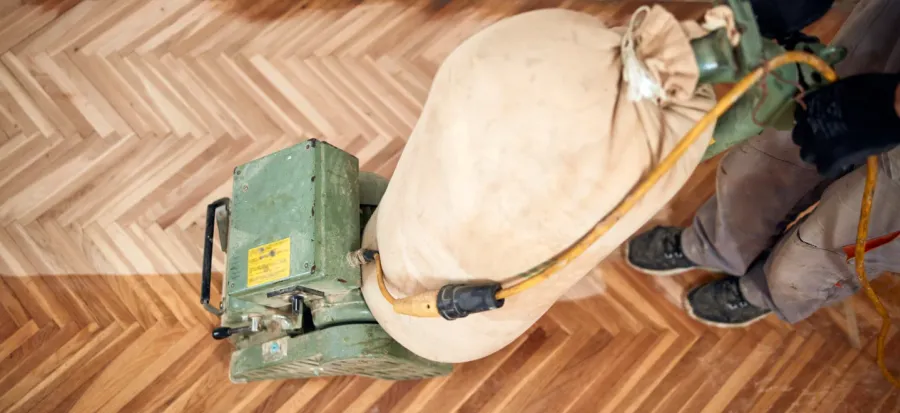
A parquet floor is more demanding because the blocks run in different directions. You cannot simply sand in the direction of the wood across the entire floor.
Improper sanding may leave visible scratches, dips or uneven areas across the pattern. Parquet can be restored beautifully, but it calls for a considered sanding process and good control of the machinery.
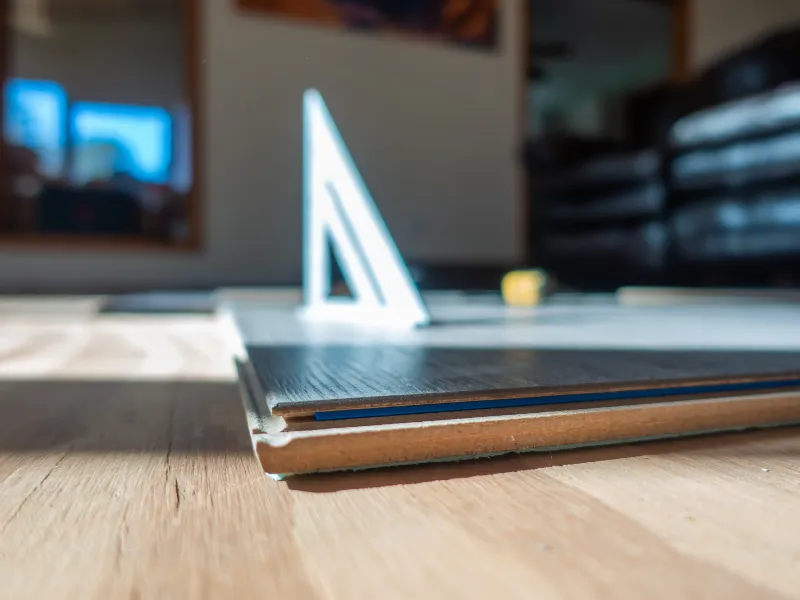
Sanding engineered wood requires a gentler, more precise approach. Especially since the top layer is thinner than that of solid wood. The same goes for parquet floor designs, which involve direction changes that floor sanders must handle with finesse.
Pine is softer than many hardwood species. Original floorboards can therefore be easier to gouge, dish or mark with a drum sander.
The softer surface also means that uneven pressure or stopping the machine in one place can show quickly. Pine floors are not impossible to sand yourself, but they are less forgiving than they may appear.
Oak generally tolerates wood floor sanding well, provided sufficient thickness remains and the right technique is used.
Its durability does not make it mistake-proof. Incorrect sanding belts, skipped grit stages or poor machine control can still leave deep sanding marks that become more obvious after sealing the floor.
Floor sanding is the process of removing the worn finish and a controlled amount of timber to create a clean, even surface ready for protection.
Everything must be removed from the room. Doors may also need taking off if the changed floor level or machinery access creates a problem.
Protruding nails should be punched below the surface so they do not damage the sanding drum or tear the abrasives. Loose, damaged or rotten floorboards should be repaired before sanding begins.
You also need to consider vents, adjoining rooms, sensitive furniture and how dust will be contained.
The main area is normally tackled with a drum sander or belt floor sander. The initial abrasive needs to be coarse enough to remove the existing coating and correct the surface, but not unnecessarily aggressive.
Successive sanding passes then use progressively finer grits. Each stage removes the scratch pattern created by the previous one.
On straight boards, you would normally sand in the direction of the wood grain. Starting or stopping incorrectly, changing direction carelessly or leaving the sanding drum lowered while stationary can cut a visible hollow into the floor.
A large floor sander cannot reach the perimeter, beneath radiators or into corners. Edge sanding is therefore completed separately, usually with a dedicated edge sander and smaller detail tools.
The challenge is making the edges blend with the rest of the floor. If the perimeter is sanded more aggressively, it can look noticeably lighter or lower after finishing.
Once you have finished sanding, the floor must be cleaned thoroughly.
Dust left in board gaps, along skirting boards or suspended in the room can settle into the coating. Even a small amount may leave roughness, visible particles or an inconsistent floor finish.
Use effective extraction and vacuum carefully rather than sweeping fine dust back into the air.
A sanded floor needs protection. Common options include lacquer and oil, each with different implications for appearance, durability, drying and future maintenance.
The choice should suit how the room will be used, not just how the floor looks on day one. Follow the finish manufacturer’s instructions closely, particularly around preparation, coat intervals, ventilation and curing.
| Equipment | Purpose | Essential? |
| Drum or belt sander | Main floor sanding | Yes |
| Edge sander | Perimeter and edge sanding | Yes |
| Orbital sander | Fine sanding or blending | Optional |
| Suitable vacuum | Dust removal | Yes |
| Abrasives | Progressive grit stages | Yes |
| PPE | Respiratory, hearing and eye protection | Yes |
Trying to sand a floor using only a handheld belt sander usually makes the project slower and less consistent. It is difficult to maintain a flat surface across a full room with a small machine.
Professional-grade sanding equipment tends to offer better power, balance and extraction. However, hiring a better machine does not replace the need to understand how it behaves.
Every abrasive leaves scratches. The next grit is there to remove them.
Jumping too quickly from coarse to fine paper may leave deep sanding marks beneath an apparently smooth surface. These scratches often become clearer once stain, oil or floor varnish is applied.
For a closer look at grit selection, machine control and visible scratch patterns, see our guide to the most common floor sanding mistakes.
A drum sander can remove material very quickly. If the sanding drum is lowered while the machine is stationary, it may cut a hollow into the timber.
Keep the machine moving as the drum is lowered and raised. Never pause with the abrasive engaged.
On straight wooden floorboards, sanding across the grain can produce scratches that are difficult to remove during fine sanding.
Some floor layouts require more complex approaches, particularly parquet, but that is different from moving across straight boards without a plan.
This is one of the most expensive DIY sanding mistakes.
Once the wear layer has been removed, it cannot be put back. If you are unsure how much real timber remains, stop and have the floor assessed before continuing.
Loose boards, protruding fixings, rotten areas and poor previous repairs should not be treated as problems that sanding will solve.
Sanding removes surface material. It does not correct movement, moisture problems or structural defects.
A clean floor is essential for a consistent result. Dust trapped in the coating can make the floor feel rough and may affect adhesion or appearance.
Cleaning the floor properly is part of the finishing process, not a quick task to rush through at the end.
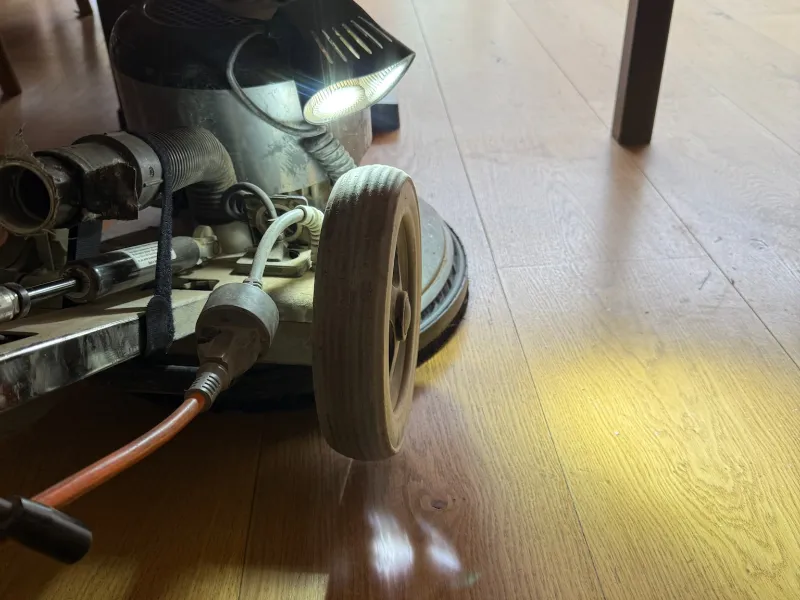
The timing depends on room size, floor condition, repairs and your confidence with the equipment. A modest room might follow a schedule similar to this:
| Task | Approximate time |
| Preparation | 2 to 4 hours |
| Initial sanding | 4 to 8 hours |
| Edge sanding | 2 to 3 hours |
| Fine sanding and cleaning | 1 to 3 hours |
| Finishing and drying | 1 to 2 days or longer |
These are working estimates rather than promises. Heavily coated boards, damaged areas, awkward room shapes and inexperienced machine handling can all extend the project.
Drying and curing are also different. A finish may feel dry enough for another coat before it is ready for furniture, rugs or normal use.
The cost of floor sanding yourself is more than the machine hire charge.
Your budget may need to cover:
Sanding wooden floors cost calculations also need to account for waste. Abrasives can clog or tear, finish quantities can be underestimated and another day of machine hire may be needed.
Hidden costs include your time, room downtime, moving furniture and correcting improper sanding. Comparing only a DIY hire price with a professional price per square metre does not reflect the same scope or level of risk.
| DIY | Professional |
| Lower upfront cost | Higher initial investment |
| Requires time to learn | Experienced workmanship |
| Greater risk of sanding damage | Lower risk when properly assessed |
| Often a longer project | Usually faster completion |
| Rental sanding equipment | Commercial machinery and extraction |
| Finish quality may vary | Generally flatter, more consistent results |
The sensible comparison is not simply cheap against expensive. Check what preparation, repairs, sanding stages, extraction, protection system and aftercare are included.
A professional floor sanding company should also be able to explain what the floor needs, what is realistically achievable and whether a lighter maintenance route might be more appropriate than full restoration.
Professional assessment is advisable when the floor includes:
The more valuable or difficult the floor is, the less suitable it becomes as a first sanding project.

Floor sanding creates fine wood dust. The UK Health and Safety Executive states that power-tool sanding can produce significant dust levels and that belt sanding may generate particularly high exposure. HSE guidance also says hardwood dust can cause serious health problems and recommends controlling dust at source through effective extraction, with suitable respiratory protection used where required. (HSE)
NIOSH has also investigated dust exposure during hardwood floor refinishing. Its guidance recognises wood dust as an occupational hazard, while its research on powered sanding supports the use of extraction controls and appropriate protection. (CDC)
For a DIY project, that means considering:
Do not rely on an ordinary paper mask as your entire dust-control plan. Extraction should reduce dust where it is created, rather than expecting personal protective equipment to do all the work.
Older floors may also contain unknown coatings or contaminants. When the history of the surface is uncertain, specialist advice may be appropriate before disturbing it.
DIY floor sanding can be worthwhile for a small room, a straightforward solid timber floor and someone who already has good practical skills.
It becomes less attractive when the floor is valuable, complicated or badly damaged. Parquet, thin engineered wood, premium hardwood, large open-plan spaces and floors with previous repairs all carry more risk.
There is no shame in deciding that a particular floor is not the place to learn. The right decision is the one that protects the timber and gives you a realistic route to the result you want.
You can sand a wooden floor yourself, but successful floor sanding depends on preparation, appropriate equipment and control at every stage.
A straightforward solid timber floor in a small room may be manageable for a capable DIYer. A thin, patterned, historic or heavily damaged floor is a different proposition.
Not every floor needs the biggest job, but it does need the right one. Silver Lining Floor Care provides professional wood floor sanding and refinishing in London and can help you understand whether your floor is suitable for sanding, whether a lighter maintenance option would be enough, or whether full restoration is the safer route.
Frequently Asked Questions
Yes, but beginners should start only where the floor is relatively simple, solid and in reasonable condition. Read the equipment instructions, test your technique carefully and avoid learning on an irreplaceable floor.
Oak can usually be sanded, but correct machine control and grit progression still matter. Its hardness does not protect it from drum marks, scratches or uneven edge sanding.
There is no single number that applies to every floor. The National Wood Flooring Association says solid wood can be sanded and refinished many times, but the practical limit depends on factors including the remaining wear layer, floor condition, flatness, equipment and the skill used during previous sanding. (woodfloors.org)
You can use one for small or localised areas, but it is not an ideal substitute for a proper floor sander across an entire room. Keeping the floor flat and consistent will be much harder.
The upfront cost may be lower, but only if the project goes to plan. Machine hire, abrasives, finish, protective equipment, extra hire days and corrective work can narrow the difference.
Potentially very dusty. Modern machines with effective extraction can reduce airborne dust significantly, but “dust-free sanding” should not be treated as an absolute promise. Edging, corners, emptying dust bags and cleaning can all release dust.
You can leave hollows, expose fixings, weaken boards or sand through an engineered floor’s wear layer. Sanding removes timber permanently, so it is important to stop when the floor’s construction or remaining thickness is uncertain.
Contact us for more information.